This page was set up to provide an archive of how to hack the navigation start-up screen of a 2006 Acura TSX. This is based off the method and software that an Acurzine poster named guicide wrote to do a 2006 Honda Civic hack, which was originally based on the software by bysin for a 2004 TSX.
Create an Image
- Create a 480x234 16 bit bmp image. The easiest way to do that is to find an image (a UF Gator in my case), scale it so that it is 480x234, then open it in Microsoft Paint and do a "Save As" in 256 Color BMP format. I saved mine as gator.bmp
- Then download the 8to16 program guicide made that converts an 8 bit image to a 16 bit image. Look for the 8to16.exe file when you unzip it, copy that file and the bitmap file you want to change into the same directory, and then type "8to16 gator.bmp gator16.bmp" from the command line in that directory.
You can also use Photoshop (free trial available) to create the 16-bit image. Google for directions.
- The final file size should be 224,722 bytes if using 8to16 convertor or it should be 224,712 bytes if using Photoshop.
- You'll also need this pixel.bmp file that will be used to remove the Acura Logo and Navigation Title from showing up on the nav screen as the default screen is actually composed of 3 different images. The pixel.bmp file is just a 1x1 pixel image specifically set to the wrong size and format so the nav system won't load the Acura_emblem.bmp and Navi_Title.bmp files so that he only thing you'll see if your big beautiful gator16.bmp file. Otherwise your main image would be partially covered up.
Navigation Hack
- Download the program for the hack.
- Unzip the package into a folder of your choice. The two important files you want
(bysin.exe and CECompressv4.dll) are in the "Release" folder when you unzip
it. Copy the .bmp file you created earlier in that folder as well as the pixel.bmp file into that folder as well.
- Remove the Navigation DVD from the trunk and put it in your computer's DVD drive
If using the default 2006 Navigation DVD
- Copy the 06Touch2.bin file from the Navigation DVD to that folder also.
- Open up a command prompt (Start->Run and type 'command') and navigate to the folder. Type "D:" to get to the D drive for example, and then "cd nav\bysin\Release" to get to the specific folder, which in my case I put it in D:\nav\bysin\Release
- Now type "bysin 06Touch2.bin update Opening3.bmp gator16.bmp"
- Burn the following 6 files to a DVD. Note that 06Touch2.bin is the modified version from above. The rest are directly copied from the Navigation DVD.

If using the updated 2015 navigation disc
- Copy the 09Touch2.bin and 09Jog2.bin files from the Navigation DVD to that folder also.
- Open up a command prompt (Start->Run and type 'command') and navigate to the folder. Type "D:" to get to the D drive for example, and then "cd nav\bysin\Release" to get to the specific folder, which in my case I put it in D:\nav\bysin\Release
- Now type the following commands to update the 09Touch2.bin and 09Jog2.bin files. Capitalization is important:
- bysin 09Touch2.bin update Opening1.bmp gator16.bmp
- bysin 09Touch2.bin update OpeningBase.bmp gator16.bmp
- bysin 09Touch2.bin update Acura_emblem.bmp pixel.bmp
- bysin 09Touch2.bin update Navi_Title.bmp pixel.bmp
- bysin 09Jog2.bin update OpeningBase.bmp gator16.bmp
- bysin 09Jog2.bin update OpeningBase.bmp gator16.bmp
- bysin 09Jog2.bin update Acura_emblem.bmp pixel.bmp
- bysin 09Jog2.bin update Navi_Title.bmp pixel.bmp
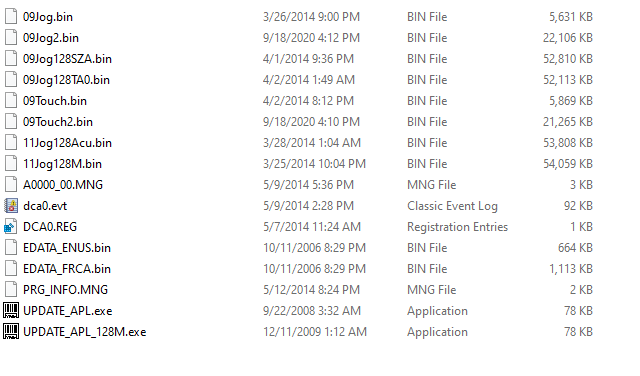
- Burn the following files to a DVD. Note that 09Touch2.bin and 09Jog2.bin are the modified versions from above. The rest are directly copied from the Navigation DVD.
- Turn on the car, run back to the truck to insert the newly burned DVD into the DVD drive, then go back to the nav screen and hold down Map, Menu, and Cancel until the Diagnosis menu come up.
- Hit Version, and then hit Download
- Wait ~2-3 minutes while it loads.
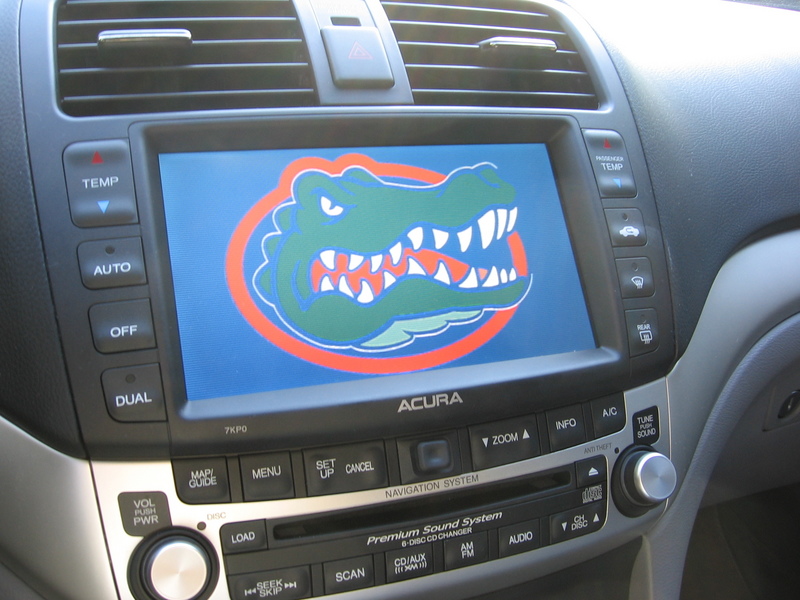
- It should reboot with your new splash logo. Remove the burned DVD from the drive, and put in the original official navigation DVD. And then you're set. Enjoy!
Example
For 2006:
I just put all the files I needed in the same directory to make it easier:
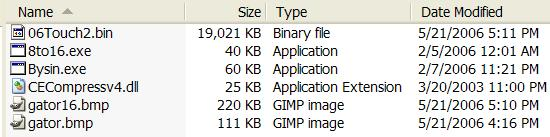
Commands on the command prompt. This is really all you need:

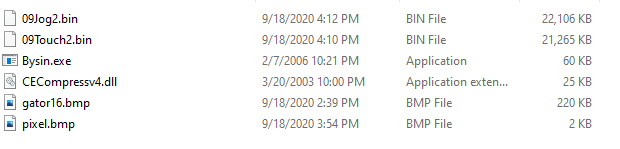
For 2015:
I just put all the files I needed in the same directory to make it easier:
Important Notes
Note that this does nothing to the nag screen. It only changes the splash screen.
This navigation hack works on other cars as well, as the bysin program just searches for the specific image name in the binary file to replace:
2006 Accord (use Opening1.bmp instead of Opening3.bmp)
2006 Civics (use 06AVN2.bin instead of 06Touch2.bin and Opening1.bmp instead of Opening3.bmp)
2006 Ridgeline (use sjca2.bin instead of 06Touch2.bin and Splash1.bmp instead of Opening3.bmp)
If for some reason you want to go back to the original image, make sure the original navigation DVD is in the drive, and follow the last few steps to load the original program.
Specs:
2006 TSX Automatic w/ Nav
2006 Original Disk: Navigation Ver 4.31C
2015 Updated Disk: Navigation Ver 4.31C
Image file used (no modification needed):

Last Updated 9-17-2020
|